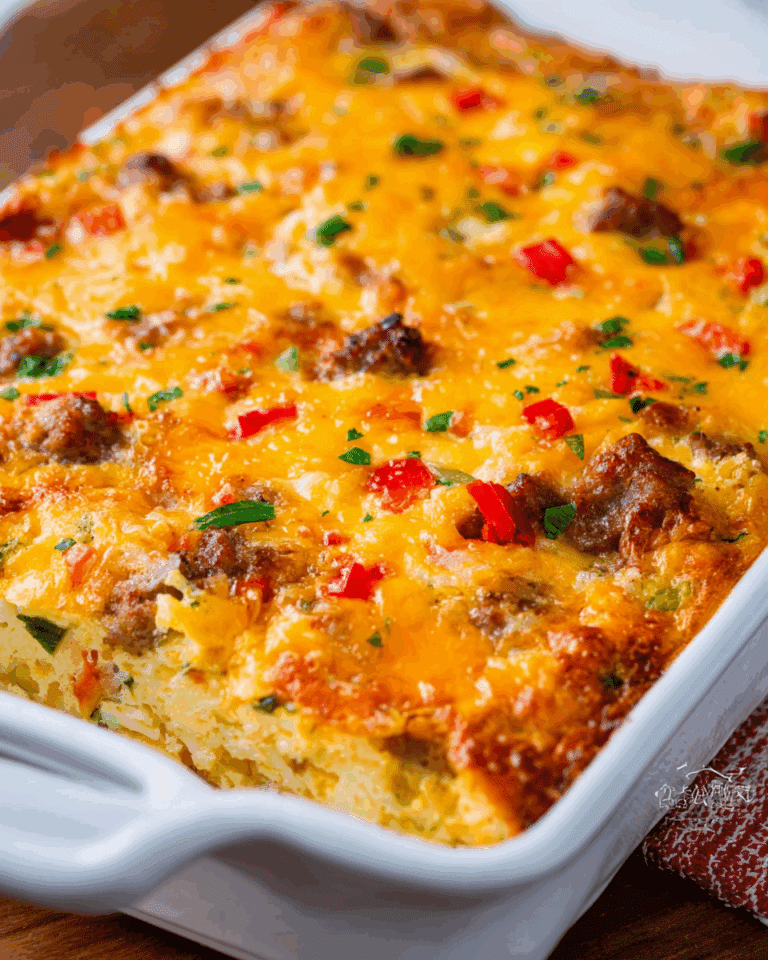
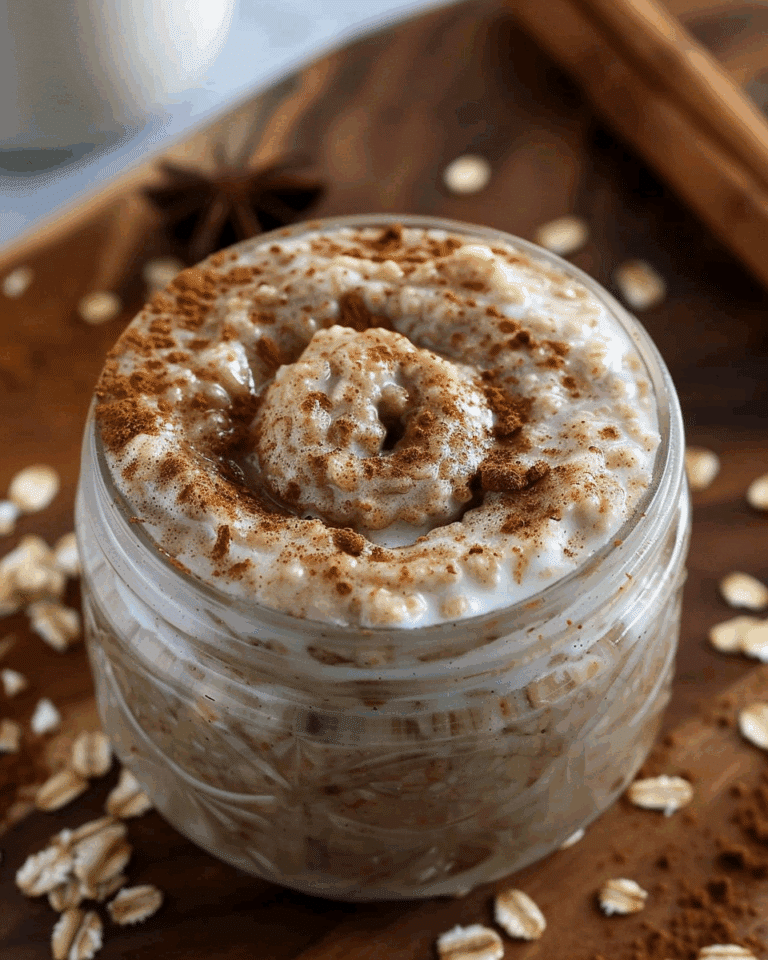
These Easy Puff Pastry Cream Cheese Danishes are an irresistible treat that’s surprisingly easy to make. With only six ingredients, these flaky, golden pastries filled with a creamy, sweet cream cheese mixture are perfect for breakfast, brunch, or a sweet dessert. They’re sure to become your go-to pastry for cozy mornings or impromptu gatherings.

Why You’ll Love This Recipe
-
Minimal Ingredients: With just six ingredients, these danishes are simple to make yet taste indulgent.
-
Flaky and Buttery: The puff pastry gives these treats a deliciously flaky and golden texture.
-
Creamy Filling: The rich, sweet cream cheese filling is perfectly balanced with a hint of vanilla and lemon.
-
Quick and Easy: Ready in under 40 minutes, these danishes are a fast way to impress your guests or treat yourself.
Ingredients
-
1 sheet puff pastry, defrosted
-
4 oz room temperature cream cheese (block kind)
-
2 tbsp sugar
-
1 egg, separated (yolk for filling, white for wash)
-
½ tbsp lemon juice
-
½ tsp vanilla extract
(Tip: You’ll find the full list of ingredients and measurements in the recipe card below.)
Directions
-
Preheat the Oven:
Preheat your oven to 400°F (200°C). -
Prepare Puff Pastry:
Unroll the defrosted puff pastry sheet onto a lightly floured surface or a prepared baking sheet. -
Make the Cream Cheese Filling:
In a stand mixer (or with a hand mixer), cream together the room temperature cream cheese and sugar on medium-high speed for about 5 minutes until smooth and fluffy. Scrape down the sides as needed. -
Add the Egg Yolk and Flavorings:
Add the egg yolk, lemon juice, and vanilla extract to the cream cheese mixture. Mix until just combined, about 2 more minutes. -
Cut the Pastry:
Cut the puff pastry sheet into 12 equal rectangles using a sharp knife or pizza cutter. -
Prepare the Pastry for Filling:
Place the pastry rectangles on a baking sheet lined with a silicone baking mat or parchment paper. -
Score the Pastry:
Lightly score a smaller rectangle inside each pastry rectangle, leaving about a ½-inch border. Do not cut all the way through. -
Add the Filling:
Spoon the cream cheese mixture into the inner scored rectangles. Be careful not to overfill. -
Crimp the Edges:
Use a fork to gently indent (crimp) the outer edges of the pastry from the edge inward, stopping at the scored line. -
Brush with Egg White:
Whisk the reserved egg white lightly in a small bowl. Brush the egg white over the outer edges of the pastry. -
Bake:
Bake for 15-18 minutes, or until the pastries are puffed up, golden brown, and the filling is set. Watch closely in the last few minutes to prevent overbaking. -
Cool:
Let the Danishes cool completely on the baking sheet before serving so the filling can set properly.
Servings and Timing
-
Servings: 12 pastries
-
Prep Time: 15 minutes
-
Cook Time: 18 minutes
-
Total Time: 33 minutes
Variations
-
Fruit Toppings: Add a dollop of jam or fresh berries on top of the filling before baking for extra flavor.
-
Flavor Twists: Swap vanilla extract for almond extract (start with 1/4 tsp), or add 1/2 tsp lemon zest or a pinch of nutmeg or cardamom to the filling.
-
Glazed Finish: Once cooled, drizzle with a simple glaze made from powdered sugar and milk or lemon juice for extra sweetness.
Storage/Reheating
-
Room Temperature: Store cooled Danishes in an airtight container at room temperature for 1-2 days.
-
Refrigerator: Store in the refrigerator for up to 4-5 days.
-
Reheat: To re-crisp, reheat in a toaster oven or conventional oven at a low temperature (around 300°F). Avoid microwaving, as it can make the puff pastry soggy.
-
Freezing: Baked and cooled Danishes can be frozen for 1-2 months. Thaw in the fridge and reheat before serving.
FAQs
Can I use store-bought cream cheese?
Yes, store-bought cream cheese works perfectly fine. Just make sure it’s softened to room temperature for a smooth filling.
Can I make these danishes ahead of time?
Yes! You can prepare the danishes up to the point of baking and refrigerate them overnight. When you’re ready, bake them fresh.
Can I use a different type of puff pastry?
Yes, you can use any puff pastry you prefer, as long as it’s defrosted and ready to use.
How can I make the filling less sweet?
If you prefer a less sweet filling, reduce the amount of sugar in the cream cheese mixture by half.
Can I add nuts to the filling?
Yes, adding finely chopped nuts like almonds or pecans would add a nice texture and flavor to the filling.
Conclusion
These Easy Puff Pastry Cream Cheese Danishes are the perfect combination of flaky, buttery pastry and creamy, sweet filling. Whether you’re making them for breakfast, brunch, or a dessert treat, they’re sure to be a crowd-pleaser. With minimal ingredients and effort, you can enjoy an elegant, delicious pastry in no time!
Print
Easy Puff Pastry Cream Cheese Danish
- Total Time: 33 minutes
- Yield: 12 pastries
- Diet: Vegetarian
Description
These Easy Puff Pastry Cream Cheese Danishes are a delicious and simple treat, combining flaky puff pastry with a creamy, sweet cheese filling. Made with just 6 ingredients, they’re perfect for breakfast, brunch, or a quick dessert. Ready in under 40 minutes, these pastries are sure to impress with their buttery, golden texture!
Ingredients
1 sheet puff pastry (defrosted)
4 oz cream cheese (room temperature, block-style)
2 tbsp sugar
1 egg (separated; yolk for filling, white for wash)
½ tbsp lemon juice
½ tsp vanilla extract
Instructions
Preheat the Oven: Preheat your oven to 400°F (200°C).
Prepare the Puff Pastry: Unroll the defrosted puff pastry sheet onto a lightly floured surface or a prepared baking sheet.
Make the Cream Cheese Filling: In a stand mixer or with a hand mixer, cream together the room temperature cream cheese and sugar on medium-high speed for about 5 minutes until smooth and fluffy. Scrape down the sides as needed.
Add Flavor to the Filling: Add the egg yolk, lemon juice, and vanilla extract to the cream cheese mixture. Mix until just combined, about 2 more minutes.
Cut the Puff Pastry: Cut the puff pastry sheet into 12 equal rectangles using a sharp knife or pizza cutter.
Prepare the Baking Sheet: Place the pastry rectangles on a baking sheet lined with a silicone baking mat or parchment paper.
Score the Pastry: Lightly score a smaller rectangle inside each pastry rectangle, leaving about a ½-inch border. Be sure not to cut all the way through the pastry.
Add the Filling: Spoon the cream cheese mixture into the inner scored rectangles, being careful not to overfill.
Crimp the Edges: Use a fork to gently indent (crimp) the outer edges of the pastry, stopping at the scored line.
Brush with Egg Wash: In a small bowl, whisk the reserved egg white and lightly brush it over the outer edges of the pastry.
Bake: Bake for 15-18 minutes, or until the pastries are puffed up, golden brown, and the filling is set. Keep an eye on them in the last few minutes.
Cool: Let the Danishes cool completely on the baking sheet before serving so the filling can set properly.
Notes
“Ensure the cream cheese is at room temperature for a smooth filling.”
“Proper defrosting of puff pastry is key; it should be cold but pliable.”
“When scoring the inner rectangle, only score the top layer of pastry and do not cut all the way through.”
“Avoid overfilling the pastry rectangles to prevent leaks.”
Variations: Add a dollop of jam or fresh berries on top of the filling before baking. You can swap vanilla for almond extract (start with ¼ tsp), or add ½ tsp lemon zest or a pinch of nutmeg or cardamom to the filling. Drizzle with a simple glaze made from powdered sugar and milk/lemon juice once cooled.
“Store cooled Danishes in an airtight container at room temperature for 1-2 days, or in the refrigerator for 4-5 days. Reheat in a toaster oven or conventional oven at low temperature (around 300°F) to re-crisp. Avoid microwaving.”
“Baked and cooled Danishes can be frozen for 1-2 months; thaw in the fridge and reheat.”
- Prep Time: 15 minutes
- Cook Time: 18 minutes
- Category: Breakfast
- Method: Baking
- Cuisine: American


