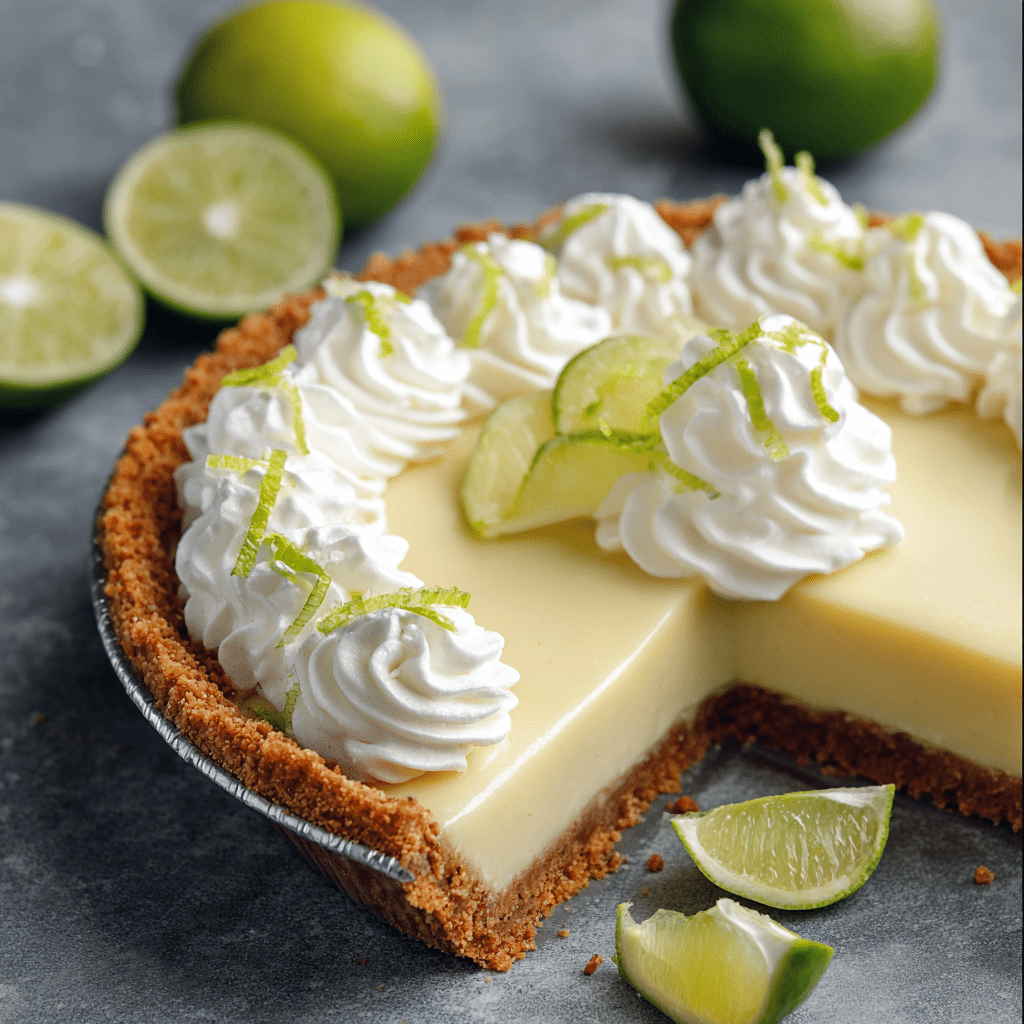
Key Lime Pie is one of those desserts that instantly transports you to sunny afternoons and breezy coastal days, all in just one sweet and tangy bite. This classic treat boasts a zesty citrus filling tucked inside a buttery graham cracker crust, crowned with billowy whipped cream. It’s a combination that’s as refreshing as it is irresistible, making Key Lime Pie an undisputed star at any gathering or quiet family dinner. Even better, this recipe proves how simple it is to whip up an impressive dessert without a fuss—no pastry chef skills required, just a love for vibrant flavors and creamy textures.
Ingredients You’ll Need
What makes Key Lime Pie such a joy is its short, simple ingredient list. Each element is chosen for the way it brightens flavor, transforms texture, or adds a touch of color. Let’s break down the superstar ingredients before you preheat the oven:
- Unsalted butter (melted): The rich base that binds the graham cracker crumbs together and creates that golden, crisp crust.
- Graham cracker crumbs: Classic, subtly sweet, and ever-so-slightly nutty, these crumbs form the signature base for our pie.
- Granulated sugar: Adds a gentle sweetness to the crust without overpowering the delicate flavors of the filling.
- Pinch of salt: Just a dash heightens the buttery taste of the crust and balances the sweetness.
- Egg yolks: Key to a rich, creamy filling, they also help thicken and set the pie to sliceable perfection.
- Fresh key lime juice: The star ingredient—this is what gives Key Lime Pie its unmistakable tang and lively citrus aroma.
- Key lime zest (plus more for garnish): Adds a concentrated lime flavor and fantastic bursts of color for both the filling and the garnish.
- Sweetened condensed milk: Creates that luscious, velvety texture and adds sweetness, making each bite melt in your mouth.
- Homemade whipped cream: Light, pillowy, and just-sweet-enough, this crowning touch balances every tangy forkful.
How to Make
Step 1: Prepare the Crust
Start by preheating your oven to 350°F (175°C) and greasing a 9-inch pie plate. In a medium bowl, melt the unsalted butter, then stir in the graham cracker crumbs, granulated sugar, and a pinch of salt. Mix it all together until it looks like wet sand—this ensures a cohesive, crunchy crust. Press the mixture firmly and evenly into the greased pie plate, pushing up the sides to form that traditional pie shape. Bake for 10 minutes, or until the crust turns golden and fragrant. Allow the crust to cool on a wire rack before moving to the next step.
Step 2: Make the Filling
Lower your oven temperature to 325°F (165°C). In a medium mixing bowl, beat the egg yolks until they’re smooth and a little paler. Stir in the key lime juice, key lime zest, and sweetened condensed milk, whisking until everything is beautifully combined and silky. Pour this vibrant mixture into your cooled crust and use a spatula to spread it evenly all the way to the edges.
Step 3: Bake the Pie
Place the filled pie back into the oven and bake for 13 to 15 minutes. You’ll know it’s ready when the filling is set and doesn’t jiggle in the center. Remove the pie and cool it on a wire rack until it’s at room temperature. To achieve that dreamy, sliceable texture, refrigerate your Key Lime Pie for at least 2 hours—overnight is even better if you’re planning ahead.
Step 4: Whipped Cream and Garnishes
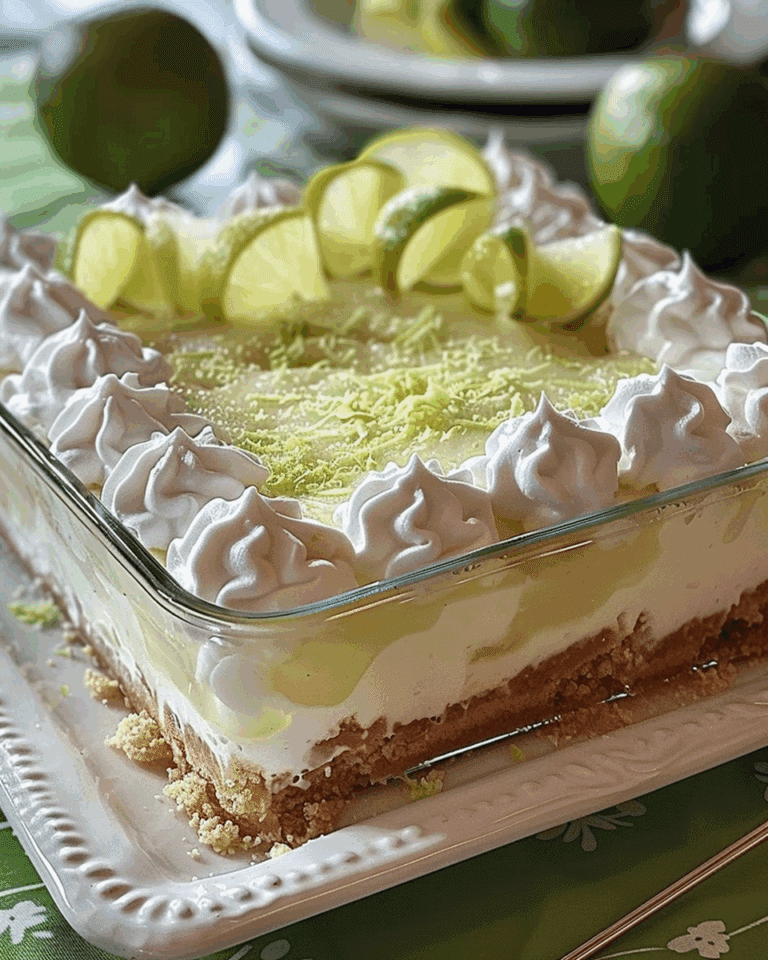
Once thoroughly chilled, generously top your pie with homemade whipped cream. For extra flair, garnish with key lime slices, an extra shower of zest, or even a sprinkle of graham cracker crumbs. This finishing touch turns every slice into a little piece of edible art.
How to Serve
Garnishes
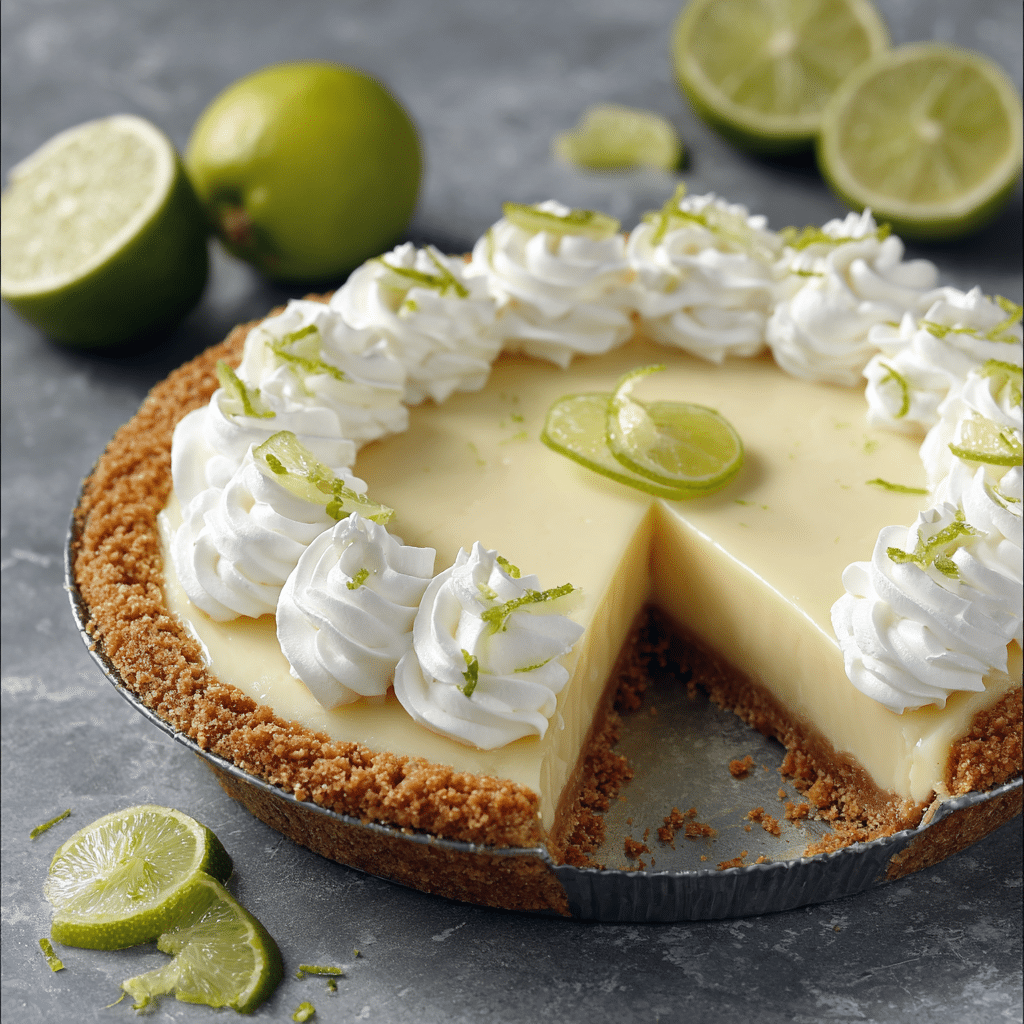
Serving Key Lime Pie with the right garnishes transforms it from delightful to utterly show-stopping. A swirl of homemade whipped cream, bright lime slices, and a scatter of zest don’t just add beauty—they also amplify the citrus aroma and offer extra pops of creamy and tart flavor with every bite.
Side Dishes
Set off the zesty flavors of Key Lime Pie with sides that are fresh and uncomplicated. Think a crisp fruit salad, unsweetened iced tea, or even a scoop of creamy vanilla ice cream for a little indulgence. The pie’s tartness pairs especially well with mellow, subtly sweet accompaniments.
Creative Ways to Present
Step up your presentation by serving Key Lime Pie in individual mason jars for a picnic, or as mini tartlets for a more elegant spread. For a playful twist, try layering pie filling and crust crumbs in parfait glasses and topping with whipped cream—perfect for a party and guaranteed to impress your guests.
Make Ahead and Storage
Storing Leftovers
To store leftover Key Lime Pie, simply cover the pie plate tightly with plastic wrap or aluminum foil and keep it in the refrigerator. The pie stays wonderfully fresh for up to three days, and the flavor often improves as the filling settles.
Freezing
Key Lime Pie is incredibly freezer-friendly. For best results, skip the whipped cream topping until you’re ready to serve. Wrap the fully cooled pie tightly in a couple of layers of plastic wrap followed by foil, and freeze for up to two months. When you’re ready to enjoy, thaw overnight in the fridge.
Reheating
There’s no need to reheat Key Lime Pie—this dessert is meant to be served chilled, which really allows the creamy, tangy flavors to shine. If you’re serving it straight from the fridge, just let it sit at room temperature for about 10 minutes for the perfect texture.
FAQs
Can I use regular limes if I can’t find key limes?
Absolutely! While key limes have a distinct floral tartness, regular Persian limes make a wonderful substitute. The flavor will still be deliciously bright and citrusy, and your Key Lime Pie will remain a standout dessert.
Is it okay to use bottled key lime juice?
If fresh key limes are hard to come by, high-quality bottled key lime juice will do the trick. Just make sure it’s 100 percent juice without added sugar or preservatives for the best flavor in your pie.
How do I know when the filling is set?
The filling is set when it looks slightly firm and doesn’t wobble in the center when you gently shake the pie plate. It should no longer be liquid but will continue to set up more as it chills in the fridge.
Can I make Key Lime Pie ahead of time?
Yes, this pie is a dream for planners! Prepare your Key Lime Pie 1 to 2 days in advance and store it covered in the refrigerator. Just hold off on topping with whipped cream until right before serving for the freshest look and taste.
What’s the best way to cut neat slices?
For picture-perfect slices, dip your knife into hot water and wipe it clean before each cut. This prevents the creamy filling from sticking to the blade, ensuring every piece of your Key Lime Pie looks as good as it tastes.
Final Thoughts
If you’re searching for a dessert that truly captures that fresh, tangy citrus flavor and instantly brings a smile to everyone around your table, Key Lime Pie is your answer. It’s easy, foolproof, and always a showstopper. Don’t be surprised if it becomes your go-to crowd-pleaser—give it a try and enjoy every blissful bite!
Print
Key Lime Pie Recipe
- Total Time: 2.5 hours
- Yield: 8 servings
- Diet: Vegetarian
Description
This Easy Classic Key Lime Pie recipe is the perfect balance of sweet and tart, with a buttery graham cracker crust and creamy, tangy filling. Topped with homemade whipped cream, it’s a refreshing dessert that’s simple to make and always a crowd-pleaser. Whether you’re serving it at a party or enjoying a slice after dinner, this key lime pie is sure to impress!
Ingredients
For the Crust:
- 6 tablespoons unsalted butter, melted
- 1 1/2 cups graham cracker crumbs
- 2 tablespoons granulated sugar
- Pinch of salt
For the Filling:
- 3 large egg yolks
- 1/2 cup fresh key lime juice
- 1 tablespoon key lime zest (plus more for garnish)
- 14 ounces sweetened condensed milk
For the Whipped Cream:
- Homemade whipped cream for topping
Instructions
- Prepare the Crust: Preheat the oven to 350°F (175°C). Grease a 9-inch pie plate and set aside. In a medium bowl, melt the butter. Stir in graham cracker crumbs, sugar, and a pinch of salt. Press the mixture into the pie plate, forming a crust. Bake for 10 minutes or until golden brown. Remove from the oven and cool on a wire rack.
- Prepare the Filling: Lower the oven temperature to 325°F (165°C). Beat the egg yolks in a medium bowl. Add key lime juice, lime zest, and sweetened condensed milk. Whisk until smooth. Pour the filling into the cooled crust and spread evenly. Bake for 13-15 minutes, or until the filling is set. It should no longer jiggle in the center. Let cool on a wire rack, then refrigerate for at least 2 hours (or overnight).
- Whipped Cream and Garnish: Top the chilled pie with homemade whipped cream. Garnish with key lime slices and a sprinkle of lime zest.
- Serve and Enjoy: Slice and serve chilled. Enjoy every tangy bite!
Notes
- Fresh Key Limes: If fresh key limes are unavailable, use fresh lime or lemon juice. Freeze key lime juice and zest for future use.
- Make-Ahead: Prepare the pie 1-2 days ahead. Store it in the refrigerator and top with whipped cream just before serving.
- Whipped Cream: For the best flavor, use homemade whipped cream, but store-bought can be used for convenience.
- Prep Time: 20 minutes
- Cook Time: 23-25 minutes
- Category: Dessert
- Method: Baking
- Cuisine: American
Nutrition
- Serving Size: 1 slice
- Calories: 320
- Sugar: 22g
- Sodium: 240mg
- Fat: 16g
- Saturated Fat: 9g
- Unsaturated Fat: 5g
- Trans Fat: 0g
- Carbohydrates: 40g
- Fiber: 1g
- Protein: 5g
- Cholesterol: 85mg

