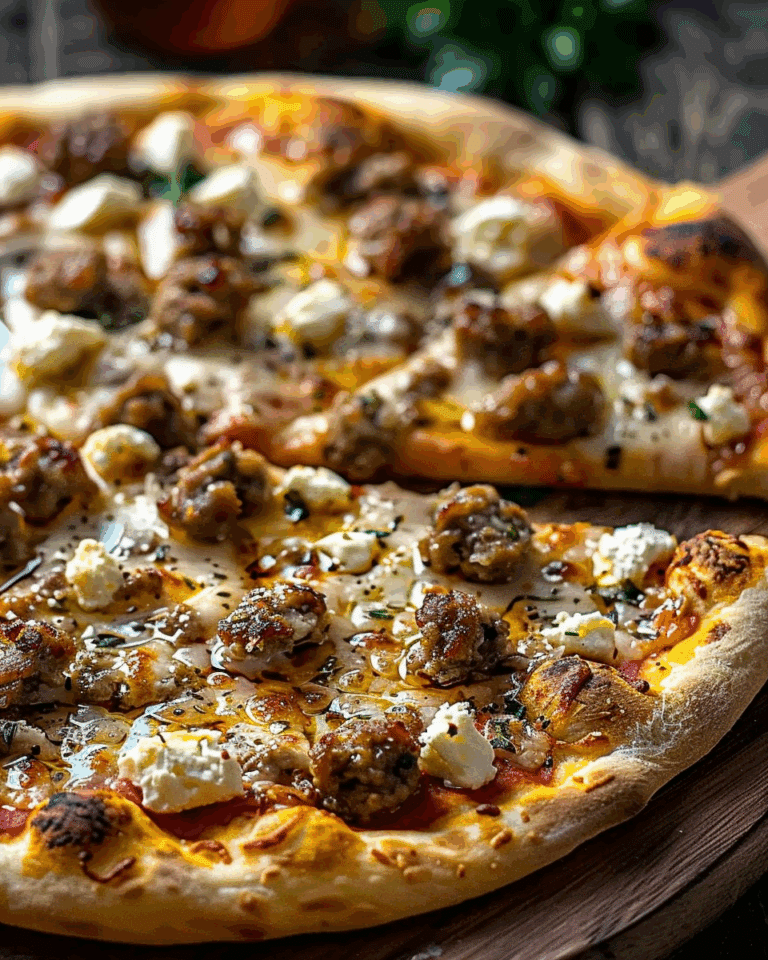
If you’re looking for a fun, mouthwatering twist on taco night, these Cheesy Taco Breadsticks will steal the show! Imagine all the best parts of a cheesy beef taco—spicy, savory meat and gooey melted cheese—wrapped up in golden, pillowy breadsticks you can twist, pull apart, and dunk into your favorite salsa or sour cream. They’re quick to whip up using store-bought pizza dough, making them a go-to for busy weeknights, after-school snacks, or crowd-pleasing appetizers. Every bite bursts with flavor, simple comfort, and a hint of indulgence!
Ingredients You’ll Need
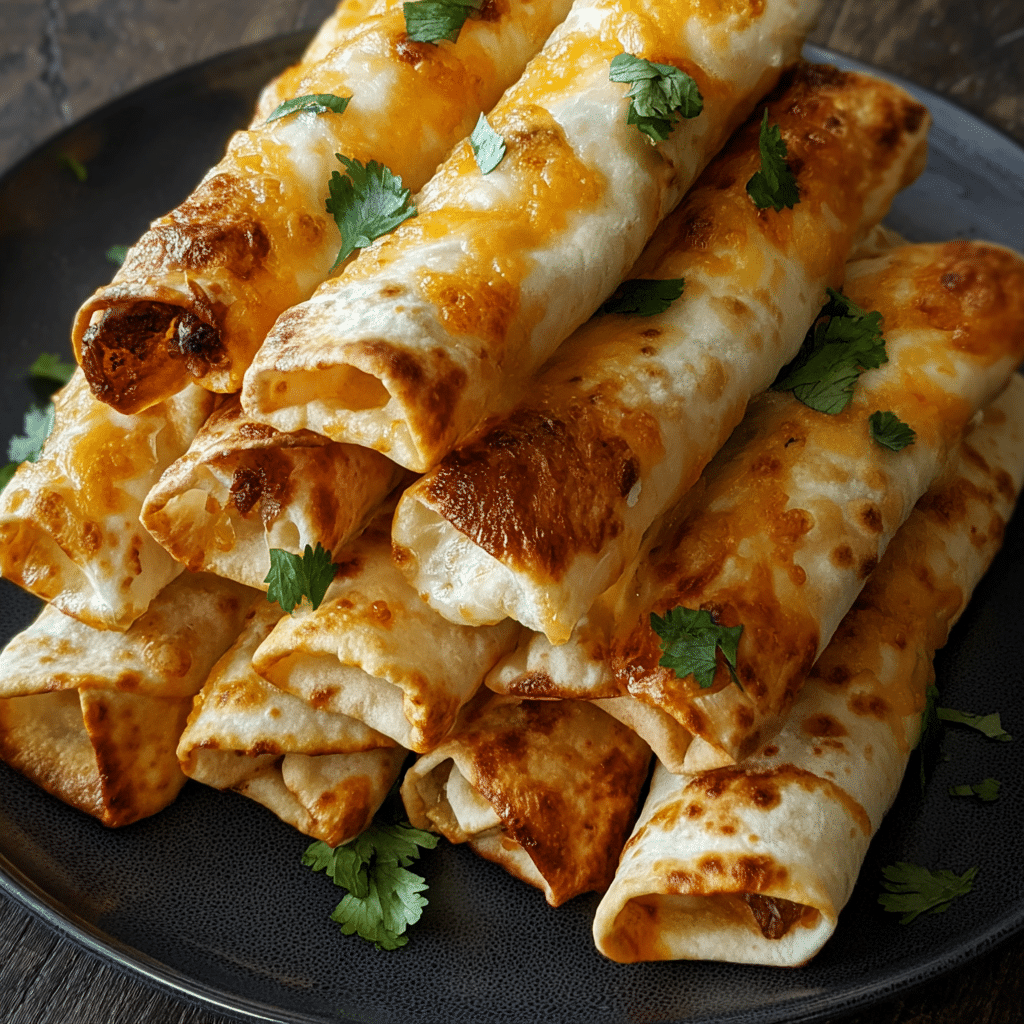
Ingredients You’ll Need
The secret behind incredible Cheesy Taco Breadsticks is how the familiar, easy-to-find ingredients work together for that iconic taco flavor, stretchy cheese pulls, and that crave-worthy crispy edge. Each addition pulls its weight, whether that’s spicy, melty, or buttery magic!
- 1 can refrigerated pizza dough: Grabs all the ingredients in a soft yet golden hug, making prep a breeze.
- ½ lb ground beef: Brings rich, savory depth and the heartiness you crave in every bite.
- 1 packet taco seasoning: Packs every strip with classic, bold taco spices, no guesswork needed.
- 1 cup shredded cheddar cheese: Adds sharp flavor and unbeatable color when melted.
- 1 cup shredded mozzarella cheese: Delivers that unforgettable cheese pull and mild creaminess.
- 1 tsp melted butter: Brushed on top for a golden, crave-worthy finish and buttery flavor.
- ¼ tsp garlic powder: Gives a quick hit of aromatic warmth that plays off the cheese.
- Salsa & sour cream (for dipping): The perfect, cool accoutrements for maximum dunking delight.
How to Make
Step 1: Prepare the Oven and Baking Sheet
Start by preheating your oven to 375°F. This ensures your Cheesy Taco Breadsticks bake up golden outside and perfectly gooey inside. While the oven heats, line a baking sheet with parchment paper to keep everything tidy and prevent sticking. Just this step gives you that professional finish at home!
Step 2: Cook and Season the Beef
In a large skillet over medium heat, brown your ground beef until it’s fully cooked and crumbly. Drain off any extra fat to keep things lighter but still plenty juicy. Stir in the taco seasoning, following the packet instructions—usually just adding water and simmering until the sauce thickens. This is where you layer in that unmistakable taco flavor!
Step 3: Roll Out the Dough
Unroll your canned pizza dough straight onto a lightly floured clean surface or even directly onto parchment paper for easy cleanup. Roll or stretch the dough into a large rectangle, about ¼ inch thick. This canvas will soon hold all those incredible fillings.
Step 4: Layer the Filling
Spoon the seasoned ground beef evenly over one half of the dough rectangle, leaving a border to help seal the edges. Sprinkle both the cheddar and mozzarella cheeses generously over the meat. This cheesy duo is what creates the melty magic inside every breadstick.
Step 5: Fold, Seal, and Slice
Gently fold the empty half of the dough over the filling so it covers the beef and cheese completely. Press the edges with your fingers or a fork to seal in the goodness. Use a sharp knife or pizza cutter to slice the sealed dough into 1-inch-wide strips.
Step 6: Twist and Arrange
Take each strip and give it a couple of gentle twists, which locks in the filling and makes for an irresistible, bakery-worthy look. Transfer the twisted strips onto your prepared baking sheet, leaving a bit of space between them for even baking.
Step 7: Brush and Sprinkle
Brush the tops of each breadstick with melted butter for that rich, toasty color. Sprinkle the garlic powder evenly over the buttered tops—this tiny step adds loads of extra flavor.
Step 8: Bake to Perfection
Slide your tray into the preheated oven and bake for 15–20 minutes. You’ll know your Cheesy Taco Breadsticks are done when they’re golden brown, puffed up, and the cheese starts bubbling out in a few tempting spots.
Step 9: Serve and Savor
Let the breadsticks cool for just a minute—you don’t want molten cheese burns!—then serve warm with generous bowls of salsa and sour cream for dipping. Watch them disappear in no time!
How to Serve
Garnishes
Sprinkle finely chopped fresh cilantro or sliced green onions over the hot breadsticks for an instant color pop and herby brightness. If you love a little heat, a dusting of chili flakes or a zigzag of hot sauce brings extra zing. Sometimes, a tiny squeeze of fresh lime on top is all you need to lift these Cheesy Taco Breadsticks to snack stardom!
Side Dishes
Pair these breadsticks with a crunchy slaw, a quick black bean salad, or even a bowl of guacamole for a build-your-own platter vibe. They also play well with herby rice, tortilla soup, or a simple green salad for a more filling meal. Whether it’s a party spread or a cozy dinner, Cheesy Taco Breadsticks are true team players on the table!
Creative Ways to Present
Pile your breadsticks high on a rustic wooden board with colorful bowls of salsa and sour cream on the side. For parties, serve them on a platter with small skewers or toothpicks for mess-free grabbing. Or, lay them out in a spiral for a centerpiece that always gets people talking. With Cheesy Taco Breadsticks, you’re guaranteed wow factor no matter how you serve them!
Make Ahead and Storage
Storing Leftovers
If you find yourself with leftover breadsticks (a rare but happy problem), let them cool completely before transferring to an airtight container. They’ll stay fresh in the fridge for up to three days, just waiting to be revived for a quick lunch or snack.
Freezing
Cheesy Taco Breadsticks freeze surprisingly well! Once baked and cooled, lay them in a single layer on a parchment-lined tray and freeze until solid. Then, slip them into a zip-top bag or airtight container. They’ll keep in the freezer for up to two months, ready for last-minute cravings.
Reheating
For the best results, pop the breadsticks on a baking sheet and reheat in a 350°F oven for about 8–10 minutes, or until warmed through and the cheese is melty again. The microwave works for a quick fix, but the oven keeps that lovely crispness intact.
FAQs
Can I use ground turkey or chicken instead of beef?
Absolutely! Lean ground turkey or chicken works wonderfully with taco seasoning and the melty cheese. Just be sure to cook it thoroughly, and maybe add an extra splash of oil to keep it juicy while browning.
Can I make Cheesy Taco Breadsticks ahead of time?
Yes! You can assemble the breadsticks earlier in the day, cover the tray tightly, and store them in the fridge until ready to bake. Bake just before serving for ultimate freshness and gooey cheese pulls.
How do I keep the breadsticks from unrolling?
A good seal is key! Press the edges of the dough together firmly after folding and try twisting tightly. If needed, pinch the open ends a little to lock the filling inside while baking.
Can I add more fillings to Cheesy Taco Breadsticks?
Go wild! Add a sprinkle of black beans, diced jalapeños, corn, or even sautéed onions and peppers alongside the beef. Just avoid overstuffing so the breadsticks hold together well.
What’s the best cheese to use?
A blend of cheddar and mozzarella is classic for that perfect melt and flavor, but you can swap in Monterey Jack, Pepper Jack, or even a little crumbled queso fresco for a fun twist.
Final Thoughts
There’s just something about sharing Cheesy Taco Breadsticks—whether at a family dinner, game night, or casual hangout—that brings extra smiles and excitement to the table. Dive in, try them with your own favorite fillings, and don’t be surprised when you start getting requests for them again and again!
Print
Cheesy Taco Breadsticks Recipe
- Total Time: 30 minutes
- Yield: 8 breadsticks
- Diet: Halal
Description
Filled with seasoned ground beef and gooey cheese, these Cheesy Taco Breadsticks are a simple and tasty treat that uses store-bought pizza dough. Ideal for dunking into salsa or sour cream!
Ingredients
Pizza Dough:
- 1 can refrigerated pizza dough
Ground Beef Filling:
- ½ lb ground beef
- 1 packet taco seasoning
Cheese Blend:
- 1 cup shredded cheddar cheese
- 1 cup shredded mozzarella cheese
Additional Ingredients:
- 1 tsp melted butter
- ¼ tsp garlic powder
- Salsa & sour cream (for dipping)
Instructions
- Preheat Oven: Preheat oven to 375°F and line a baking sheet with parchment paper.
- Brown Beef: Brown ground beef in a skillet, then drain the fat.
- Season Beef: Mix in taco seasoning following packet instructions.
- Prepare Dough: Roll out pizza dough into a rectangle.
- Fill Dough: Spread beef on half the dough, sprinkle with both cheeses, then fold the dough over and seal the edges.
- Shape and Bake: Cut into 1-inch strips, twist, place on the baking sheet, brush with butter, sprinkle with garlic powder, and bake for 15–20 minutes until golden brown.
- Serve: Enjoy warm with salsa and sour cream for dipping.
Notes
- Easily double the recipe for parties.
- For variety, consider adding beans or jalapeños to the filling.
- If preferred, use homemade pizza dough.
- Prep Time: 10 minutes
- Cook Time: 20 minutes
- Category: Side Dish
- Method: Baking
- Cuisine: Mexican, American
Nutrition
- Serving Size: 1 breadstick
- Calories: 240
- Sugar: 2g
- Sodium: 510mg
- Fat: 11g
- Saturated Fat: 6g
- Unsaturated Fat: 4g
- Trans Fat: 0g
- Carbohydrates: 20g
- Fiber: 1g
- Protein: 14g
- Cholesterol: 40mg

