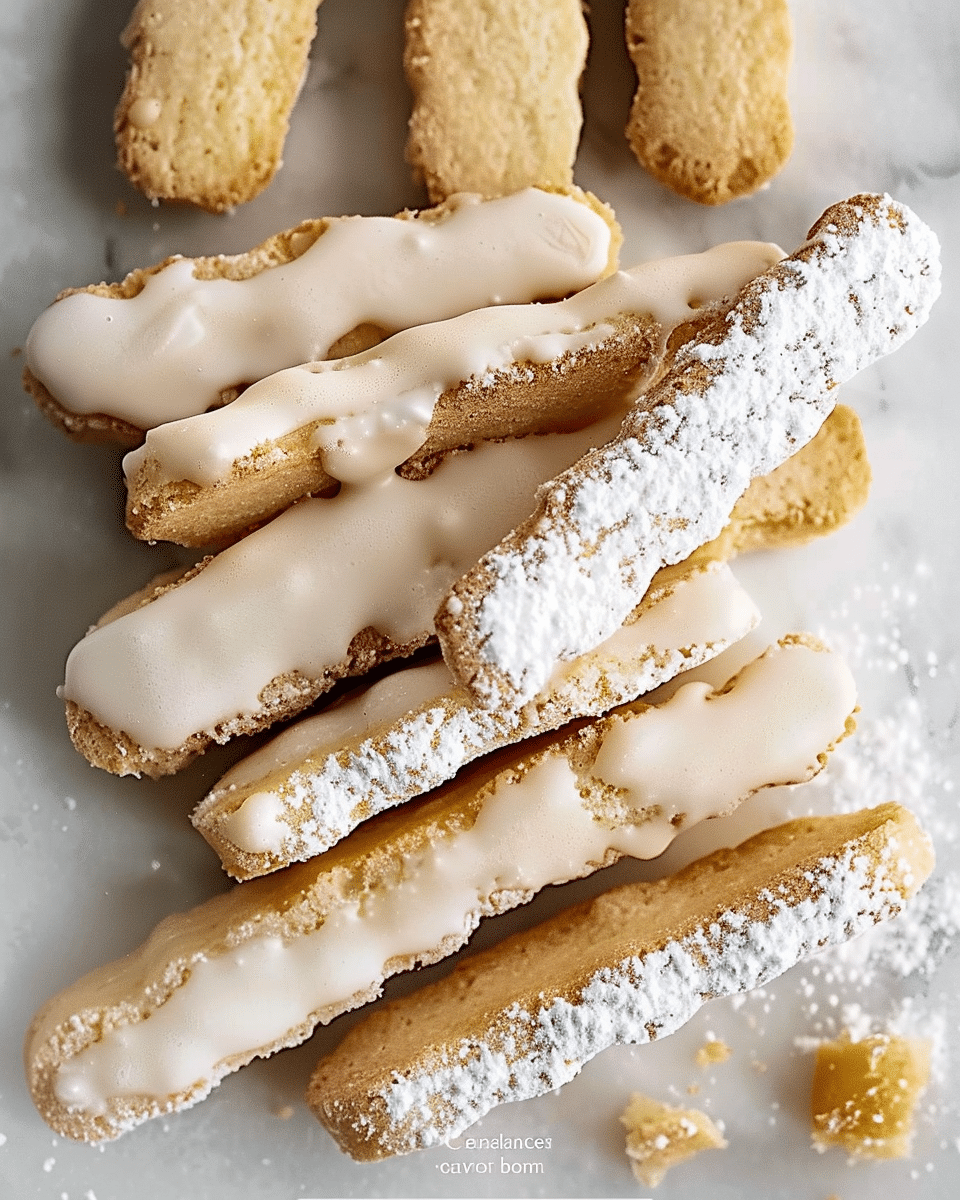
I created these Homemade Lady Fingers to deliver that classic delicate sponge texture—they’re light, airy, and perfect for dunking, whether in coffee or dessert creations.
Why You’ll Love This Recipe
I love how these lady fingers puff up tall and stay tender inside thanks to the piping tip and sugar dusting trick. With their crisp exterior and soft center, they’re ideal for tiramisu, trifles, or just enjoying alongside a hot cup of tea. Their simplicity and versatility make them a staple in my baking routine.
Ingredients
(Here’s a tip: Check out the full list of ingredients and measurements in the recipe card below.)
-
3 large eggs, separated
-
½ cup granulated sugar (divided; ~100 g)
-
½ teaspoon vanilla extract
-
¼ teaspoon salt
-
1 cup all-purpose flour (120 g)
-
5 teaspoons cornstarch
-
Powdered sugar, for dusting
Directions
-
Preheat & prep: I preheat my oven to 350 °F (175 °C) and line two baking sheets with parchment paper. I fit a large round tip into a piping bag.
-
Yolk mixture: I beat the egg yolks with ¼ cup sugar, vanilla, and salt until pale and fluffy in a large bowl.
-
Whip whites: Separately, I whisk egg whites at high speed until soft peaks form, then slowly add remaining ¼ cup sugar and continue beating until glossy and stiff, about 2 minutes.
-
Combine: I gently fold the yolk mixture, then the egg whites in batches until smooth.
-
Add dry ingredients: I sift in flour and cornstarch, folding until no streaks remain.
-
Pipe: I transfer the batter to the piping bag and pipe 4‑inch long, 1‑inch wide logs onto the sheets, spaced 2 inches apart. I dust one sheet generously with powdered sugar.
-
Bake: I bake the dusted sheet for 12–15 minutes until lightly golden and firm. After cooling completely, I dust the second sheet and bake it the same way.
-
Cool & serve: I let them cool fully — they taste best when crisp. I use or store them immediately; they remain crisp up to 2 weeks in an airtight container.
Servings and timing
-
Makes approximately 24–30 lady fingers, depending on piping consistency
-
Prep time: ~15 minutes (plus piping)
-
Bake time: ~12–15 minutes per sheet
-
Total time: ~35–45 minutes
storage/reheating
I store these in an airtight container at room temperature—they stay delightfully crisp for up to two weeks. No reheating needed; if they soften, a quick 3‑minute warm-up in a 300 °F oven revives their texture.
Variations
-
Tender interior: I bake slightly less for softer cookies—ideal if I plan to soak them in coffee or syrup.
-
Extra crisp: For a firmer texture, I bake a couple minutes longer until they’re a deeper golden.
-
Flavor twist: I sometimes fold in a bit of finely grated citrus zest (lemon or orange) for a bright note.
-
Chocolate-dusted: After cooling, I lightly dust cocoa powder mixed with powdered sugar for a mocha touch.
FAQs
What makes lady fingers tall and airy?
Dusting with powdered sugar before baking allows the batter to rise freely, giving them their signature height and delicate structure.
Can I skip cornstarch?
Cornstarch lightens the texture—it’s best not to omit it. Without it, the cookies will be denser and less sponge-like.
Why did my batter deflate?
I’ve found it happens when I under-whip or over-fold. It’s key to solidify whites into peaks and gently fold—don’t overmix.
How do I get them crispier?
I simply leave them in the cooling oven with the door slightly cracked for a few minutes. It firms them up beautifully.
Can I make them without a piping bag?
I tried spooning the batter, but piping gives the best shape and even texture. If needed, I use a zip-top plastic bag with a snipped corner, though it’s not as consistent.
Conclusion
I adore how these Homemade Lady Fingers come together in under an hour and store beautifully. Whether I’m making tiramisu, savory charcuterie boards, or enjoying them solo, they’re always a crowd-pleaser. I hope this recipe earns a permanent spot in your baking lineup—I can’t wait to share more recipes like this!
Print
Homemade Lady Fingers
- Total Time: 45 minutes
- Yield: 24–30 lady fingers
- Diet: Vegetarian
Description
Homemade Lady Fingers are light, airy sponge cookies with a crisp exterior and tender center—perfect for tiramisu, trifles, or enjoying with tea or coffee. They’re easy to make and store well, making them a versatile addition to your baking rotation.
Ingredients
3 large eggs, separated
½ cup granulated sugar, divided (~100 g)
½ tsp vanilla extract
¼ tsp salt
1 cup all-purpose flour (120 g)
5 tsp cornstarch
Powdered sugar, for dusting
Instructions
- Preheat oven to 350°F (175°C). Line two baking sheets with parchment paper. Fit a piping bag with a large round tip.
- In a large bowl, beat egg yolks with ¼ cup sugar, vanilla, and salt until pale and fluffy.
- In another bowl, whip egg whites until soft peaks form. Gradually add remaining ¼ cup sugar and beat until stiff, glossy peaks form.
- Gently fold the yolk mixture into the egg whites in batches until combined.
- Sift in flour and cornstarch. Fold gently until no streaks remain.
- Transfer batter to piping bag and pipe 4-inch long, 1-inch wide logs, spaced 2 inches apart.
- Dust one baking sheet with powdered sugar. Bake for 12–15 minutes until lightly golden and firm. Cool completely.
- Repeat dusting and baking with second sheet. Let all cookies cool fully before serving or storing.
Notes
- Store in an airtight container at room temperature for up to 2 weeks.
- To crisp up softened cookies, warm in a 300°F oven for 3 minutes.
- For a softer interior, bake slightly less time.
- Add citrus zest to batter for flavor variation.
- Dust cooled cookies with cocoa-powdered sugar for a mocha twist.
- Prep Time: 15 minutes
- Cook Time: 30 minutes
- Category: Dessert
- Method: Baking
- Cuisine: Italian
Nutrition
- Serving Size: 1 cookie (of 30)
- Calories: 40
- Sugar: 4g
- Sodium: 20mg
- Fat: 0.5g
- Saturated Fat: 0g
- Unsaturated Fat: 0.5g
- Trans Fat: 0g
- Carbohydrates: 7g
- Fiber: 0g
- Protein: 1g
- Cholesterol: 15mg

