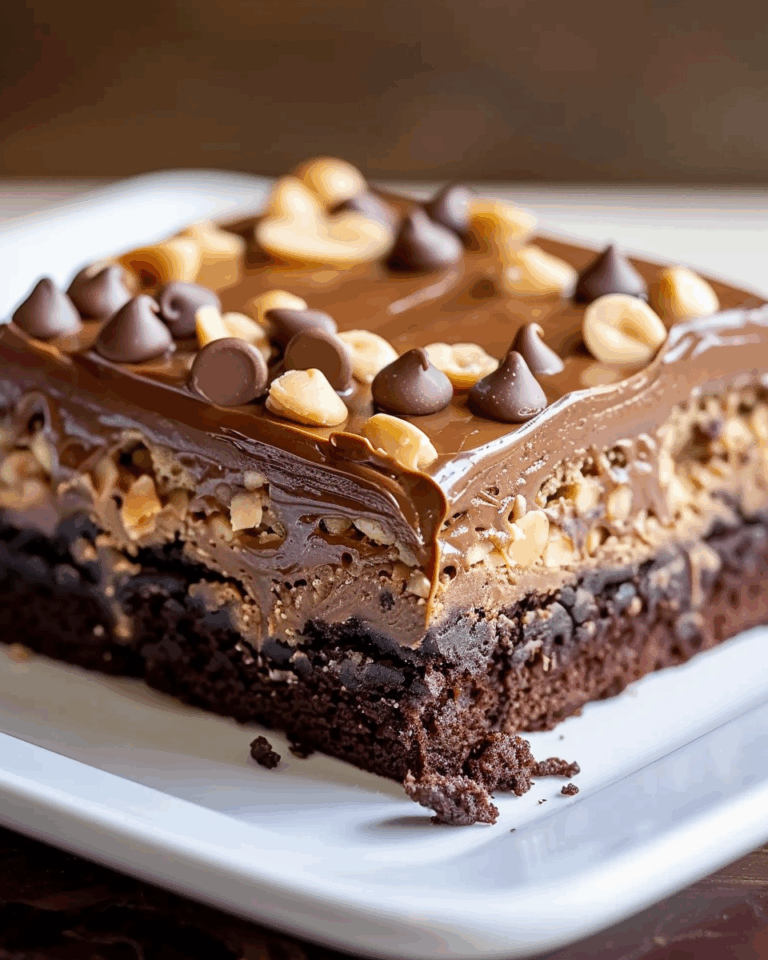
This Old Fashioned Fudge Icing is the kind of recipe that takes me back to childhood kitchens and special homemade desserts. It’s a rich, creamy icing made from scratch with simple pantry staples, delivering deep chocolate flavor and a fudge-like texture that’s perfect for topping cakes, brownies, or even just spooning straight from the bowl.
Why You’ll Love This Recipe
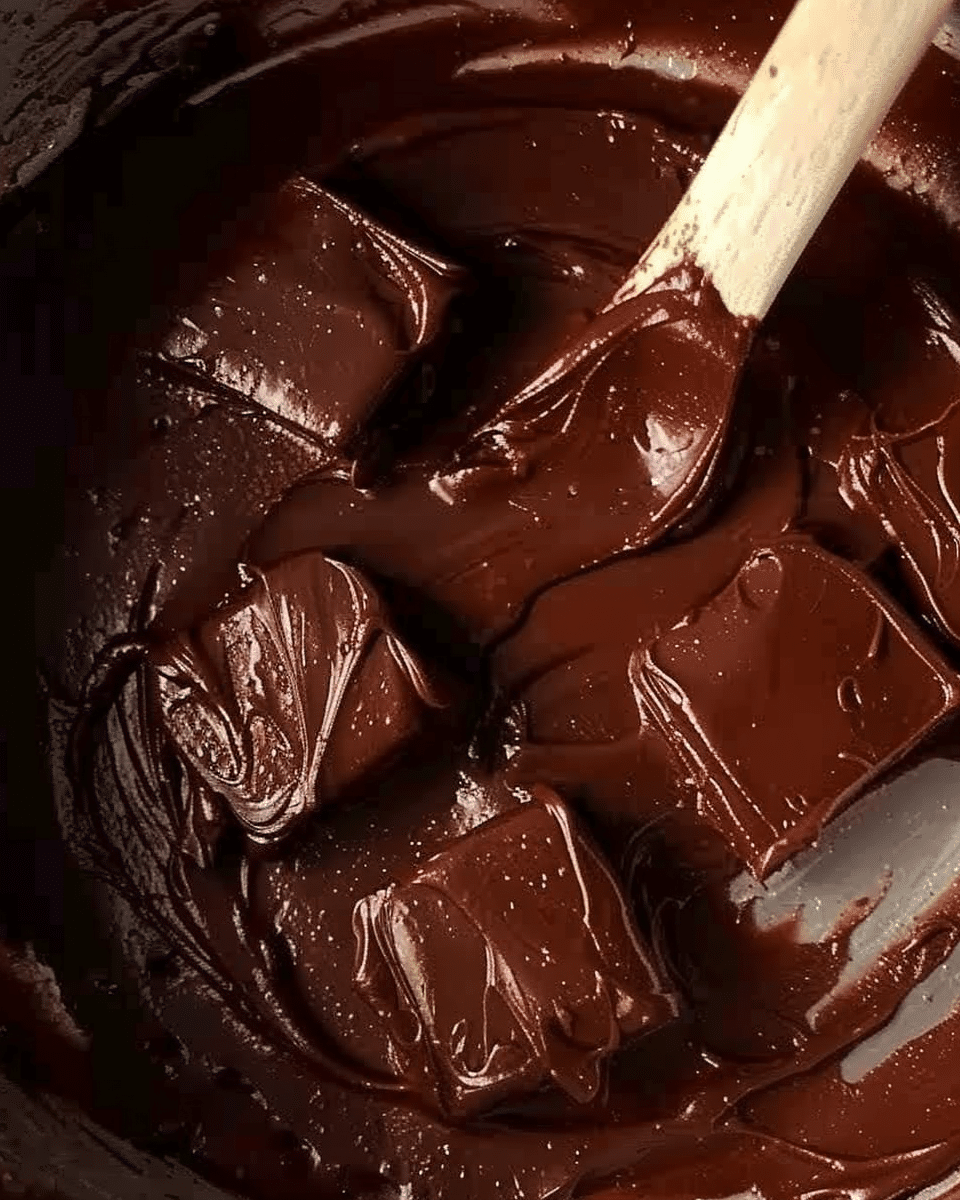
I love how nostalgic this recipe feels, and the end result is absolutely worth the effort. It’s not overly sweet, and the chocolate flavor really shines through. The process might take a bit of practice, but I find that each time I make it, I get better and the results more consistent. Plus, when it sets just right, the glossy, creamy finish makes any dessert look extra special.
Ingredients
(Here’s a tip: Check out the full list of ingredients and measurements in the recipe card below.)
- 2 cups sugar
- 1/2 cup milk
- 1/2 cup butter (stick)
- 1/2 cup cocoa
- 1/4 tsp salt
- 1 tsp vanilla extract
Directions
- In a medium heavy-bottomed pot, whisk together sugar, cocoa, and salt until well combined.
- Switch to a wooden spoon and gradually stir in the milk. Add the butter.
- Bring to a full, rapid boil that can’t be stirred down. Boil exactly 3 minutes and 45 seconds, stirring constantly.
- Remove from heat and stir in vanilla extract.
- Let the mixture cool for no more than 5 minutes.
- Using a hand-held or stand mixer with a whisk attachment, begin beating the fudge on low and gradually increase to high speed.
- Beat for 5 to 10 minutes, or until the icing becomes creamy, dull (instead of shiny), and begins to thicken.
- Watch the edges of the bowl for signs that the icing is setting.
- Immediately pour and spread the icing over your cake or brownies.
- If desired, top with nuts right away before it sets.
Servings and timing
This recipe makes enough to generously frost a 9×13-inch cake or a batch of brownies. Prep time is about 10 minutes, and total time including beating is around 25 minutes.
Variations
Sometimes I add a pinch of instant espresso powder to deepen the chocolate flavor. When I want a nutty crunch, I stir in chopped pecans or walnuts just before spreading. For a spicier twist, a dash of cinnamon or chili powder works surprisingly well.
storage/reheating
I store leftover icing in an airtight container at room temperature for up to 2 days, or in the fridge for up to 5 days. If I need to soften it again, I gently warm it in short bursts in the microwave, stirring each time, until spreadable.
FAQs
Why does the icing need to be beaten after cooking?
Beating changes the texture, making it thick, creamy, and spreadable. Without beating, it would stay more like a pourable glaze.
What happens if I overcook the icing?
It can turn grainy or become too thick to spread. I stick to the precise boiling time and stir constantly to avoid this.
Can I use a different type of milk?
Yes, but I prefer whole milk for the richest result. Lighter milks or non-dairy options might alter the texture slightly.
Is it normal for the icing to be runny at first?
Yes, it starts off thin and shiny but thickens as it cools and is beaten. Patience and proper timing are key.
Can I make this ahead of time?
It’s best used immediately after making, but I’ve had success reheating and re-beating it gently if needed.
Conclusion
Old Fashioned Fudge Icing may take a bit of practice, but it delivers a classic, homemade taste that brings warmth and charm to any dessert. I enjoy the process as much as the result, and once it sets just right, it becomes a deliciously fudgy crown for any baked treat.
Print
Old Fashioned Fudge Icing
- Total Time: 25 minutes
- Yield: Frosts a 9x13-inch cake or one batch of brownies
- Diet: Vegetarian
Description
Old Fashioned Fudge Icing is a rich, creamy chocolate icing made from simple pantry staples. It boasts a deep chocolate flavor and a classic fudgy texture perfect for cakes and brownies.
Ingredients
2 cups sugar
1/2 cup milk
1/2 cup butter (1 stick)
1/2 cup cocoa
1/4 tsp salt
1 tsp vanilla extract
Instructions
- In a medium heavy-bottomed pot, whisk together sugar, cocoa, and salt until combined.
- Stir in milk gradually, then add the butter.
- Bring to a full, rapid boil that cannot be stirred down. Boil for exactly 3 minutes and 45 seconds, stirring constantly.
- Remove from heat and stir in vanilla extract.
- Let cool for no more than 5 minutes.
- Using a hand or stand mixer with whisk attachment, beat the mixture starting on low speed and increasing to high for 5–10 minutes, until it thickens and becomes dull instead of shiny.
- Once it starts to set around the edges, immediately pour and spread over your cake or brownies.
- Optional: Top with nuts before it sets completely.
Notes
- Add a pinch of instant espresso powder to intensify the chocolate flavor.
- Mix in chopped pecans or walnuts for added texture.
- Spice it up with a dash of cinnamon or chili powder.
- Store at room temperature up to 2 days or in the fridge up to 5 days.
- To reuse, gently reheat and stir until spreadable.
- Prep Time: 10 minutes
- Cook Time: 5 minutes
- Category: Dessert
- Method: Stovetop
- Cuisine: American
Nutrition
- Serving Size: 2 tablespoons
- Calories: 130
- Sugar: 20g
- Sodium: 45mg
- Fat: 5g
- Saturated Fat: 3g
- Unsaturated Fat: 2g
- Trans Fat: 0g
- Carbohydrates: 23g
- Fiber: 1g
- Protein: 1g
- Cholesterol: 10mg

