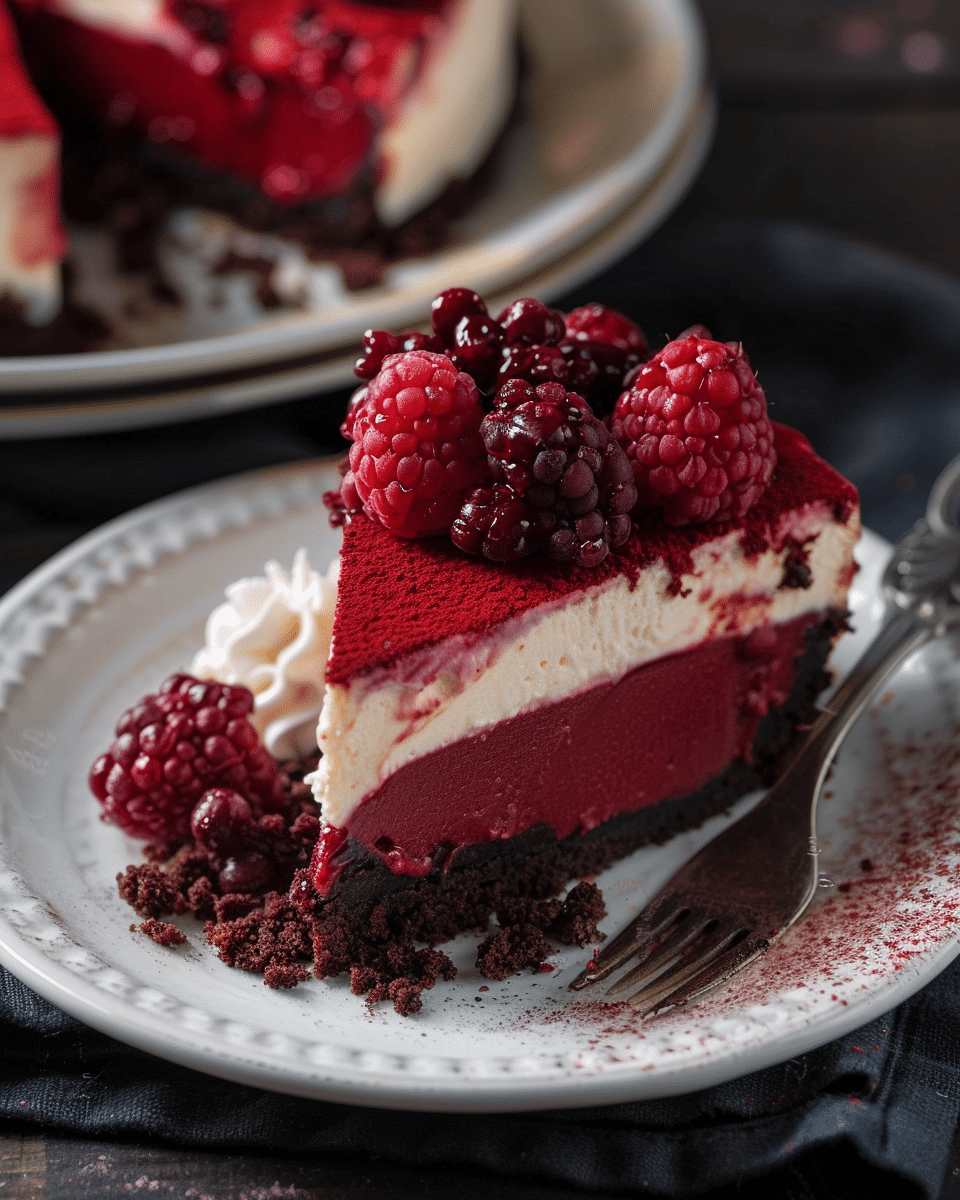
I present a rich and creamy cheesecake layered with moist red velvet cake—an indulgent twist perfect for special occasions or a cozy dessert moment.
Why You’ll Love This Recipe
I love how this dessert combines the tangy smoothness of classic cheesecake with the vibrant flavor of red velvet cake. The two layers create a delightful contrast in both taste and texture, and optional cream cheese frosting adds a luxurious finishing touch. Plus, it’s impressive yet approachable!
Ingredients
(Here’s a tip: Check out the full list of ingredients and measurements in the recipe card below.)
For The Cheesecake Layer:
-
2 packages (250 g each) cream cheese, softened
-
½ cup (125 mL) sugar
-
1 teaspoon (5 mL) vanilla extract
-
2 large eggs
For The Red Velvet Cake Layer:
-
1½ cups (190 g) all-purpose flour
-
1 cup (200 g) sugar
-
1 teaspoon baking soda
-
1 teaspoon cocoa powder
-
½ teaspoon salt
-
¾ cup (180 mL) vegetable oil
-
¾ cup (180 mL) buttermilk
-
2 large eggs
-
1 teaspoon vanilla extract
-
1 teaspoon white vinegar
-
1 tablespoon red food coloring
For The Cream Cheese Frosting (Optional):
-
½ cup (115 g) butter, softened
-
1 package (250 g) cream cheese, softened
-
2 cups (250 g) powdered sugar
-
1 teaspoon vanilla extract
Directions
Make The Cheesecake Layer:
-
Preheat oven to 325 °F (163 °C). Grease a 9-inch springform pan.
-
Beat cream cheese and sugar until smooth. Add vanilla and eggs, mixing just until combined.
-
Pour into pan and bake 25–30 minutes, until set. Cool completely and refrigerate.
Prepare The Red Velvet Cake:
-
Preheat oven to 350 °F (175 °C). Grease a 9-inch cake pan.
-
Whisk flour, sugar, baking soda, cocoa, and salt. In another bowl, combine oil, buttermilk, eggs, vanilla, vinegar, and food coloring.
-
Fold wet into dry mixture until smooth. Pour into pan and bake 30–35 minutes until a toothpick comes out clean. Cool fully.
Assemble The Cheesecake:
-
Transfer red velvet cake layer to serving plate.
-
Carefully top with chilled cheesecake layer.
Optional: Add Frosting:
-
Beat butter and cream cheese until smooth.
-
Gradually mix in powdered sugar and vanilla until creamy.
-
Spread or pipe over the cake.
Slice and enjoy this velvety two-layer dessert!
Servings And Timing
This 9-inch cheesecake serves 12 to 14 slices.
-
Prep time: 30 minutes
-
Bake time: Cheesecake 25–30 minutes, red velvet cake 30–35 minutes
-
Chill time: At least 4 hours, preferably overnight
-
Total time: Around 6 hours including chilling
Variations
-
Add an Oreo or graham cracker crust under the cheesecake layer for added texture.
-
Bake the cheesecake layer using a water bath for an ultra-smooth finish.
-
Top with whipped cream, cake crumbs, or a chocolate drizzle.
-
Add chocolate chips or nuts to the red velvet layer for crunch.
-
Turn this into mini cheesecakes using a muffin tin—just adjust baking time accordingly.
Storage/Reheating
I keep leftover cheesecake covered in the fridge for up to 4–5 days.
To freeze, I wrap slices or the whole cake tightly and store for up to 1 month. I thaw it overnight in the fridge before serving to preserve its creamy texture.
FAQs
1. What’s The Best Way To Prevent The Cheesecake From Cracking?
I recommend baking it in a water bath or placing a tray of water on a lower rack to add moisture and reduce oven heat intensity.
2. Can I Make This Without A Water Bath?
Yes, I sometimes skip it and just bake the cheesecake gently at a lower temperature. It might crack slightly, but still tastes great.
3. How Long Should I Chill The Cheesecake?
I chill it for at least 4 hours, but overnight is even better for a firmer texture and deeper flavor.
4. How Many Servings Does This Recipe Yield?
I usually get about 12 generous slices from a 9-inch cake, though I can stretch it to 14 with smaller portions.
5. Can I Make This In Advance?
Absolutely! I often bake both layers a day ahead, chill them, and assemble before serving. It actually tastes better the next day.
Conclusion
I love making the Velvety Red Cheesecake Delight because it offers the best of both worlds—decadent cheesecake and classic red velvet cake in one stunning, flavor-packed dessert. It’s perfect for celebrations or when I just want an extra-special treat. I hope you enjoy layering, slicing, and savoring every bite!

